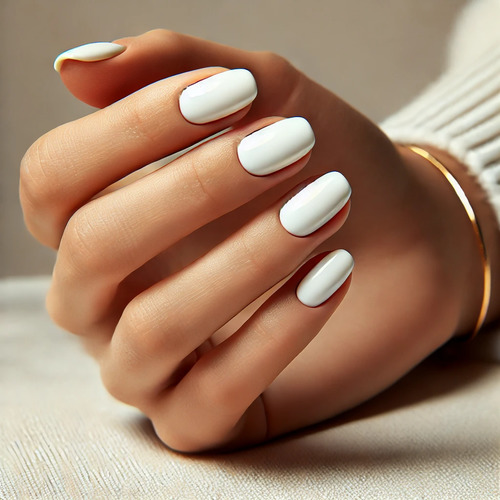
How do I prepare my nails for gel polish application?
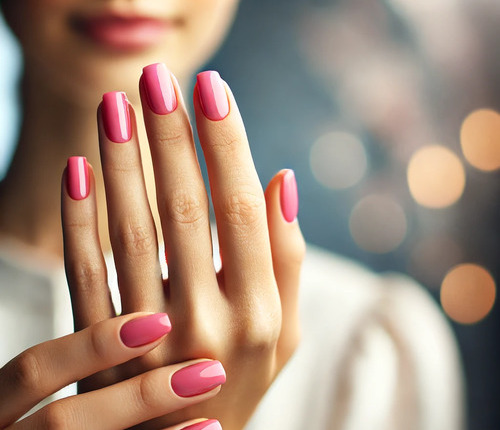
Gel lacquer manicures offer a multitude of benefits. With endless sources of design inspiration on social media and the availability of all the necessary tools, getting a gel polish manicure at home is easier than ever.
Before applying your favourite gel polish, it's important to properly prepare your nails. This not only prevents the coating from peeling off, but also protects the nails from damage. Proper preparation is the key to a perfect and long-lasting manicure. So what do you need to consider when preparing your nails for the application of gel varnish? Read on to learn all the secrets of a flawless manicure.
Before applying your favourite gel polish, it's important to properly prepare your nails. This not only prevents the coating from peeling off, but also protects the nails from damage. Proper preparation is the key to a perfect and long-lasting manicure. So what do you need to consider when preparing your nails for the application of gel varnish? Read on to learn all the secrets of a flawless manicure.
1. Shape your nails
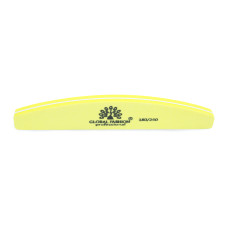
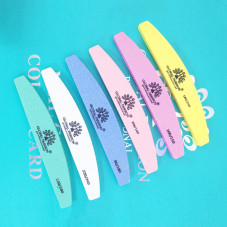
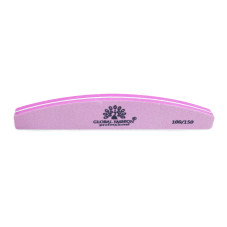
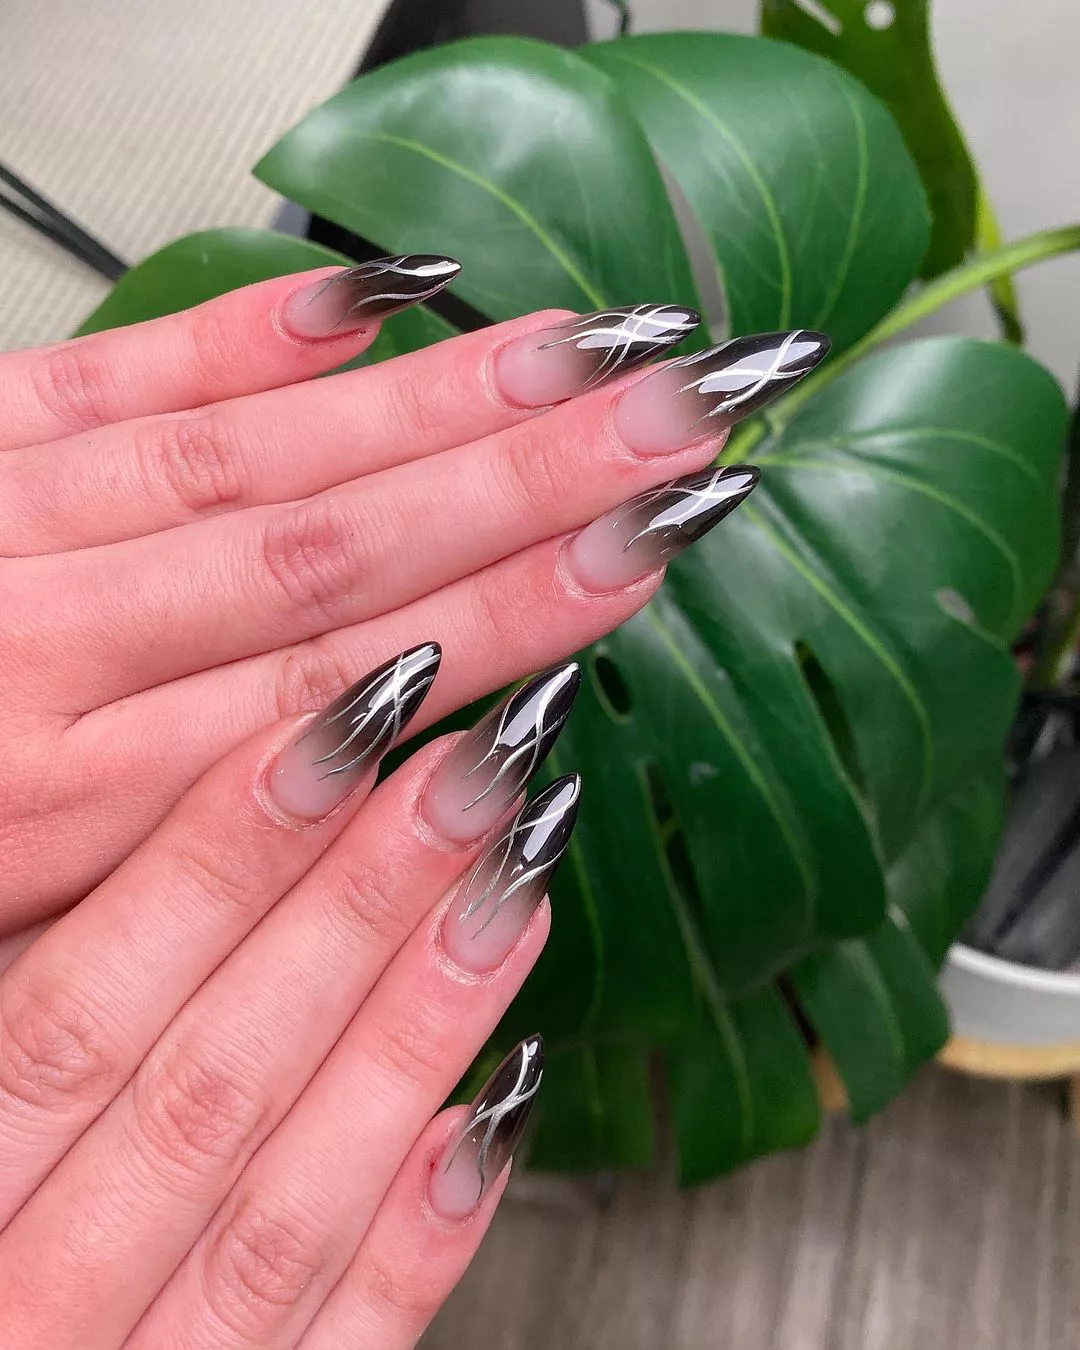
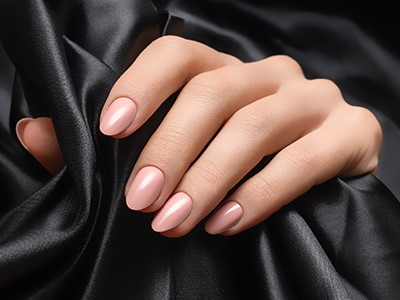
The first step is to shape them. This is an important process that requires care and the right tools. Start by trimming your nails to the desired length using nail clippers. Then use a file to give your nails the desired shape. Some popular nail shapes include square, round, and almond-shaped.
It is important to remember that the file should be moved in one direction, not back and forth. This will prevent splitting of the nails and help keep them healthy and strong.
2. Gently push back the cuticles gently
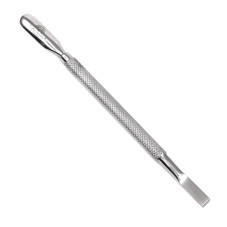
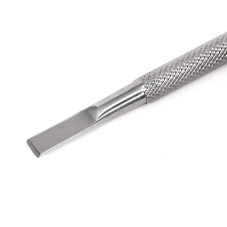
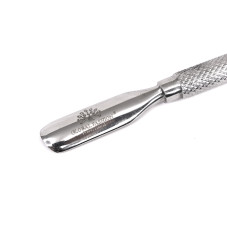
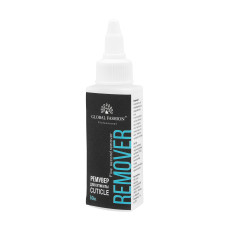
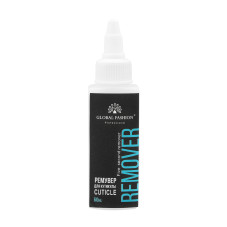
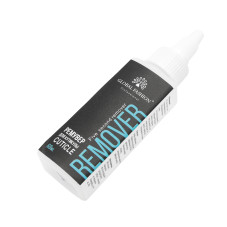
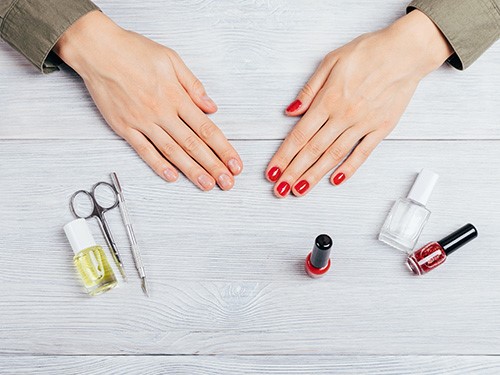
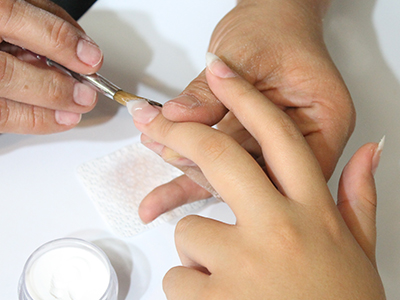
Forgetting to take care of your cuticles can significantly reduce the wear time of your gel polish. To make your manicure last longer, we recommend gently pushing back your cuticles. To do this, use a product to soften dead skin, then gently push back the cuticle with a poucher.
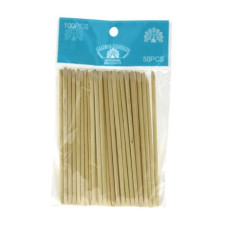
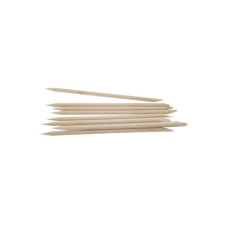
TIP: For non-professionals, we recommend using an orange stick instead of a poucher as it reduces the risk of damage.
3. Gently remove dead skin
Removing dead skin promotes an even application of gel polish. In addition to using a cuticle remover and poucher, you can also use cuticle clippers to clean this area. However, this tool requires extra care to avoid damaging the cuticle and skin.
ID: 17232
Free delivery +
60,22 BYN
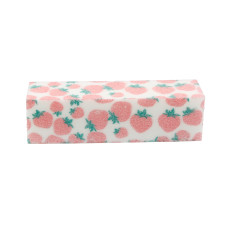
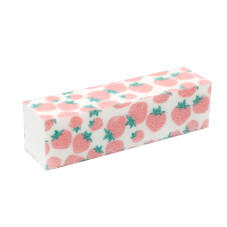
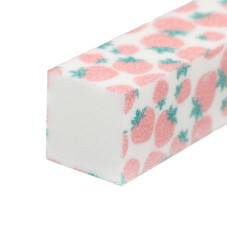
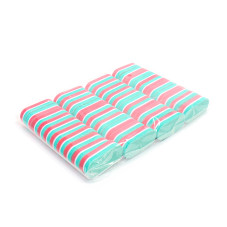
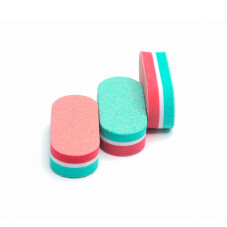
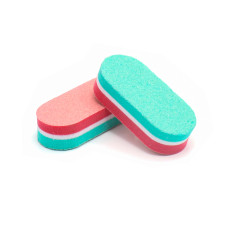
4. Polish your nails with a nail buff
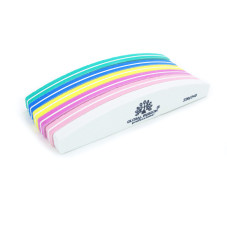
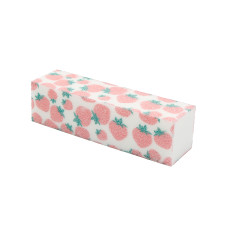
The purpose of polishing your nails is to remove all the shine from the surface of the nail plate. This helps to create a slightly rough texture that promotes better adhesion of the gel polish. It is recommended to polish in one direction to avoid removing multiple layers of the nail and not weakening their structure.
62 bought
ID: 5272
0,65 BYN
5. Nail degreasing
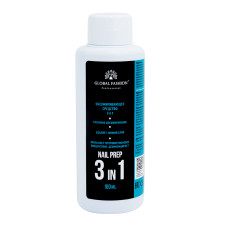
Degreasing your nails is extremely important, especially if you have applied a cuticle remover. This step allows you to get rid of oils and dust (e.g. from nail files), which will ensure better adhesion of the gel coat and prolong its durability. You can use alcohol or a special nail degreaser for this purpose.
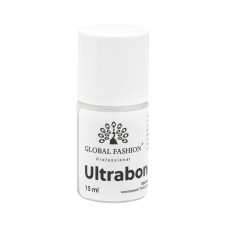
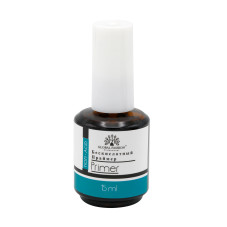
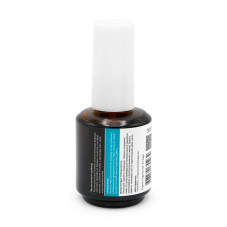
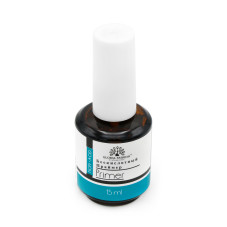
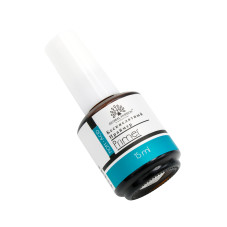
6. Apply a primer
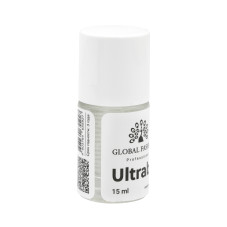
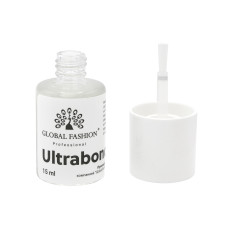
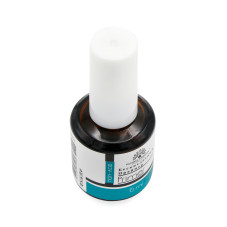
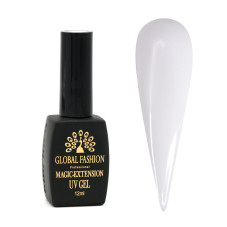
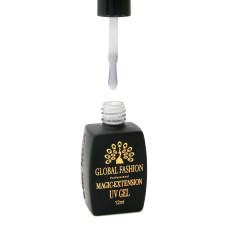
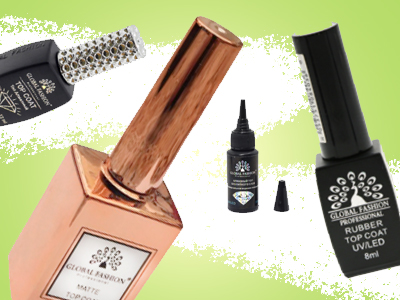
Adhesion enhancers such as dehydrators and primers help eliminate excess oil and shine. We recommend using a comprehensive system from your nail product manufacturer. For example, if you prefer Global Fashion gel polishes, be sure to use both a bonder and primer - this will greatly increase the staying power of your manicure.
1837 bought
ID: 3650
9,28 BYN
7. Apply a nail base
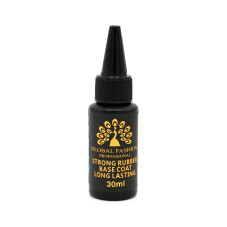
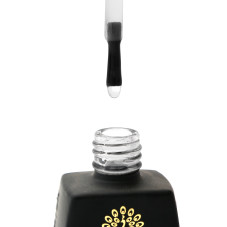
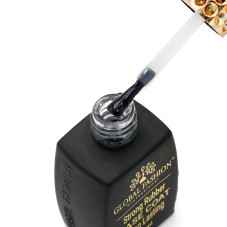
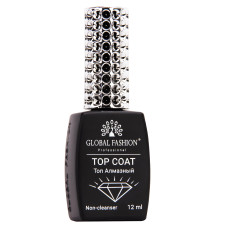
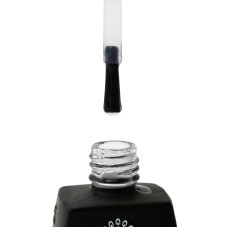
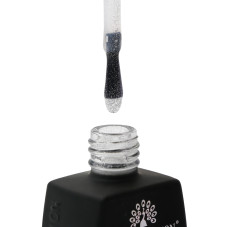
In order for gel polish to last as long as possible and protect your natural nails from spreading and staining, you need to properly apply a base coat. It will not only increase the longevity of the manicure, but also provide a perfectly smooth surface for the subsequent application of coloured varnish. For best results, we recommend applying the base coat in thin layers.
Read also: How to do build-up on gel tips - step-by-step instructions
Published: 17.06.2024 13:14
Times Read: 244
6318 bought
ID: 3678
13,92 BYN
3157 bought
ID: 3688
27,95 BYN
1836 bought
ID: 3650
9,28 BYN
567 bought
ID: 5263
3,87 BYN
7 solutions for problems with natural nails
Manicureis a part of the image of women so no amount of designer clothes and fashion accessories
