How to make a perfect french pedicure with gel varnish - step-by-step instructionsHow to make a perfect french pedicure with gel varnish - step-by-step instructions
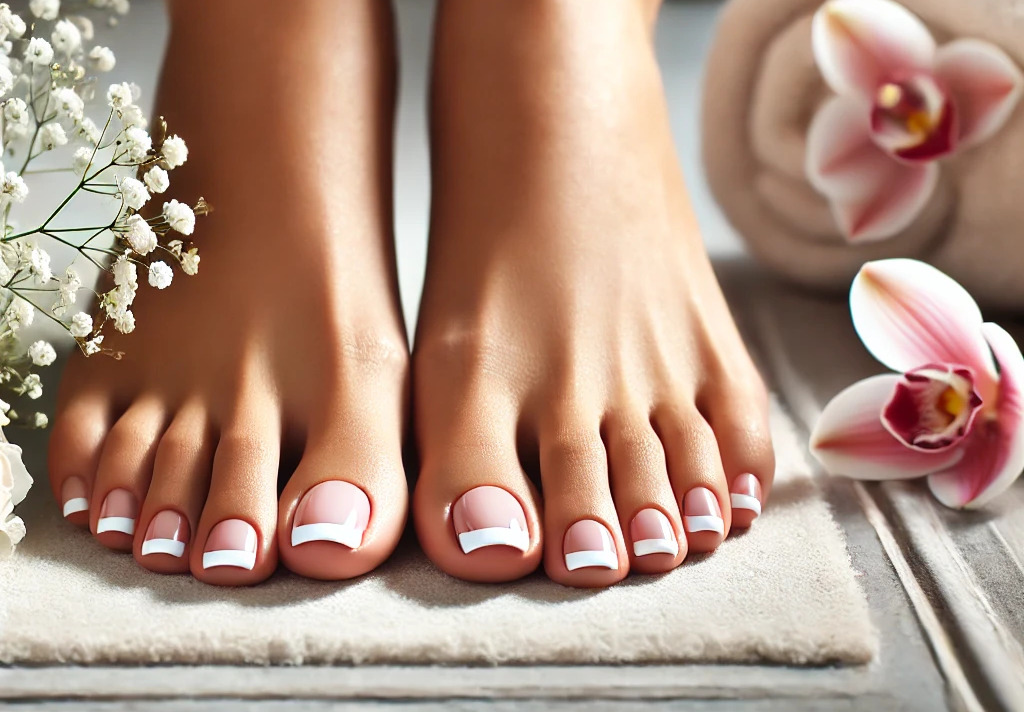
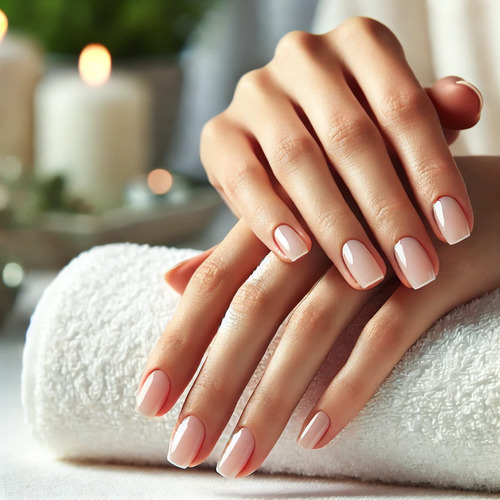
French manicure is a timeless classic! A million trends come and go in the nail industry, but the French manicure always remains at the peak of popularity. Fans of stylish and neat design always turn to this exquisite option. It looks elegant not only on the hands, but also on the feet. To learn how to create a French pedicure using gel varnish, read our article.
Necessary tools for French pedicure
First of all, you will need certain tools to achieve the perfect French pedicure. Although the traditional style is minimalistic and elegant, you need to have a few tools on hand to create it. Namely:
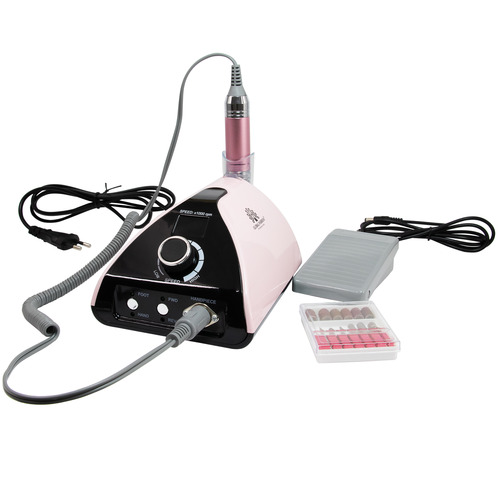
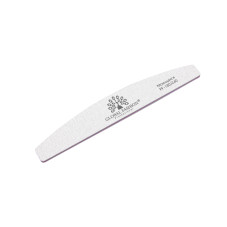
- A file for correcting the length and shape of the nail, and a buff for polishing the nail plate;
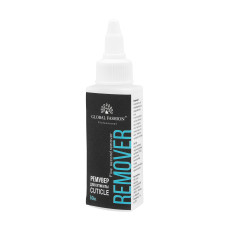
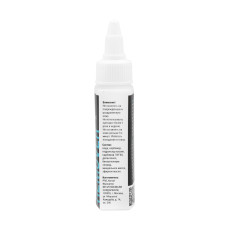
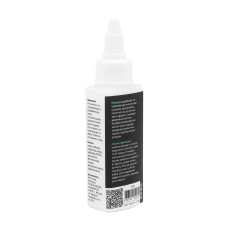
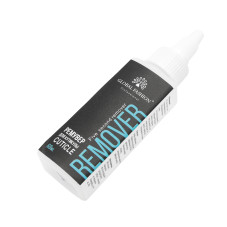
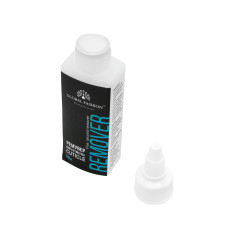
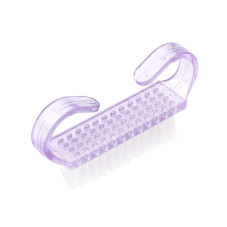
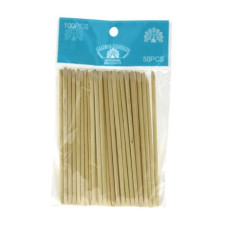
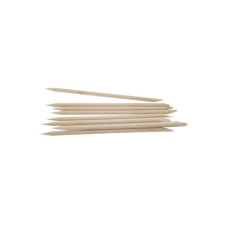
- Cuticle remover;
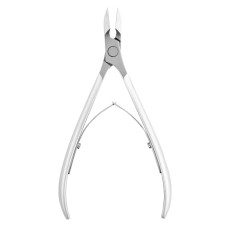
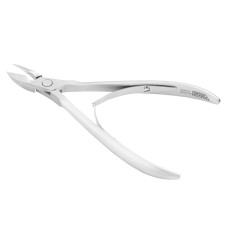
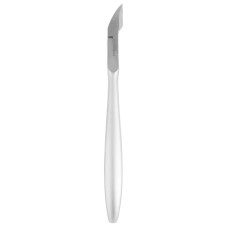
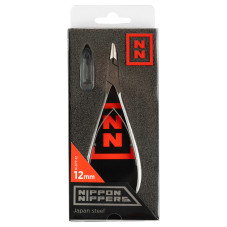
- Tools for trimming manicure;
7 bought
ID: 17229
Free delivery +
106,72 BYN
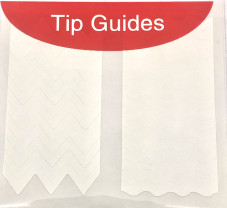
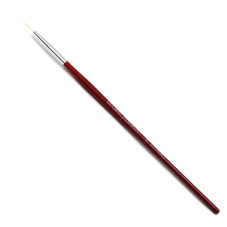
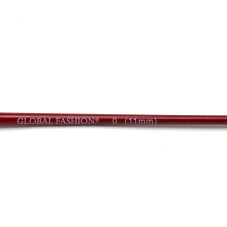
- Stencils or a brush for drawing a smile line;
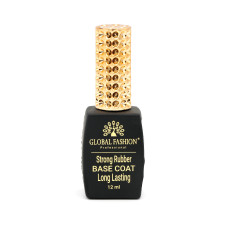
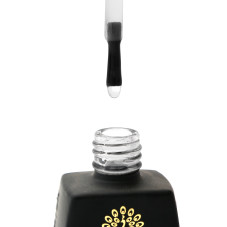
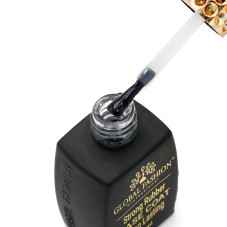
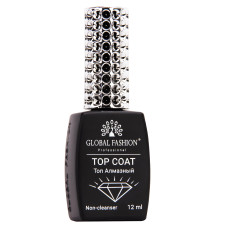
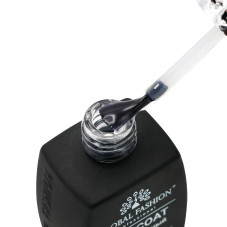
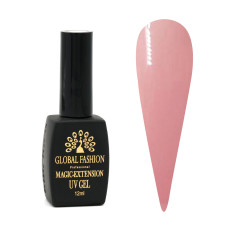
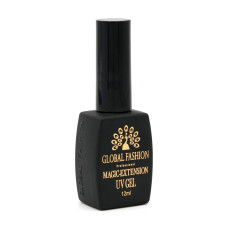
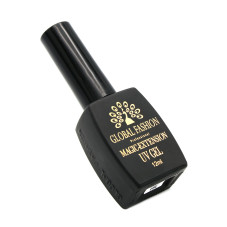
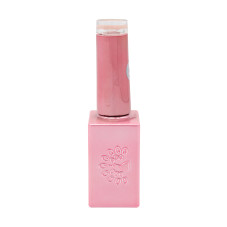
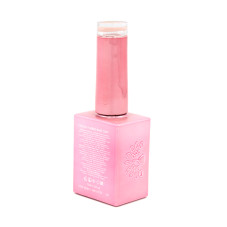
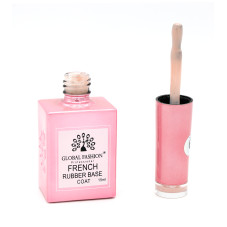
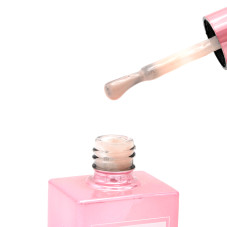
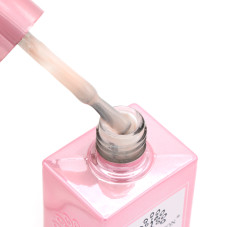
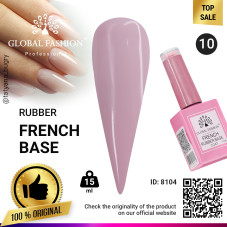
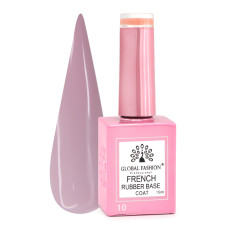
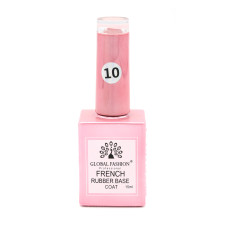
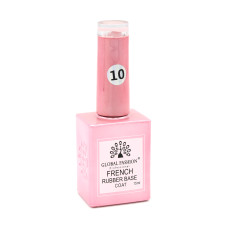
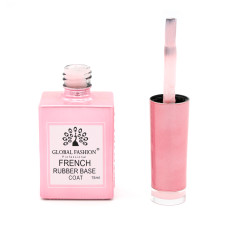
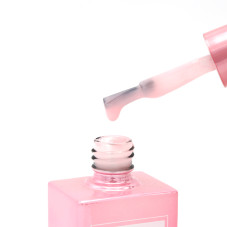
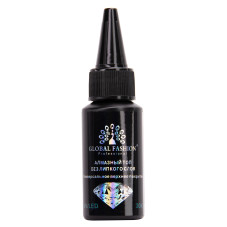
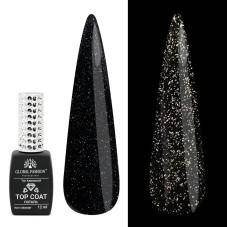
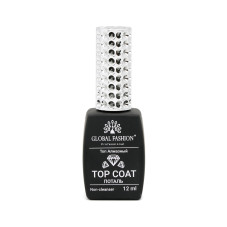
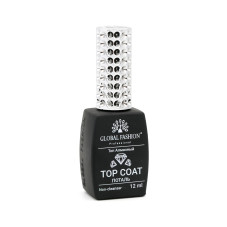
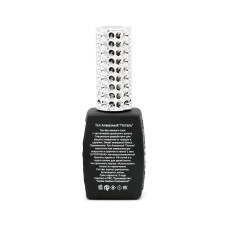
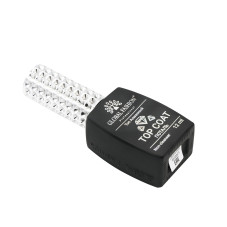
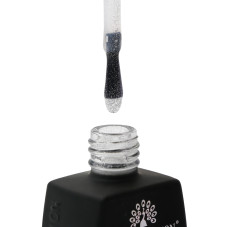
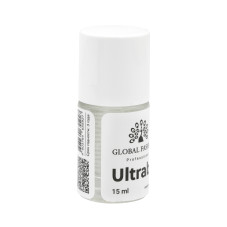
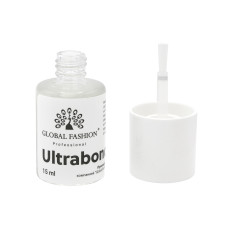
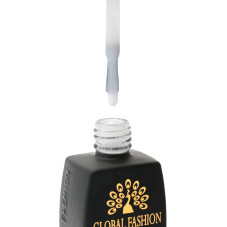
- Base and top;
6318 bought
ID: 3678
13,92 BYN
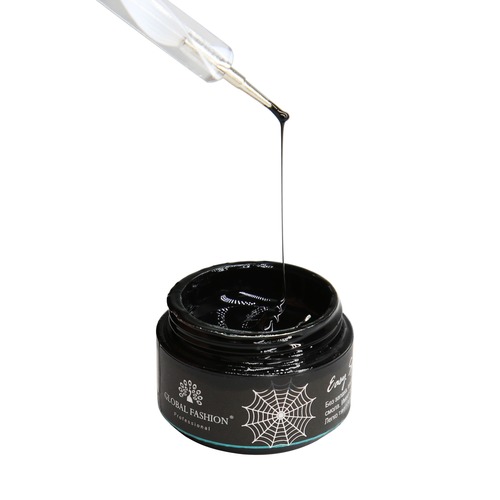
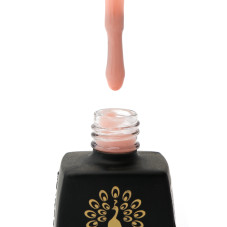
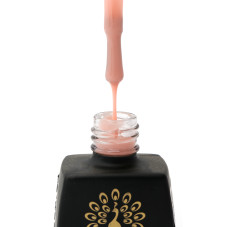
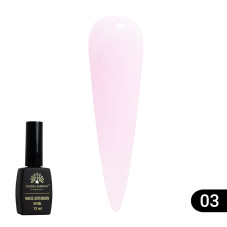
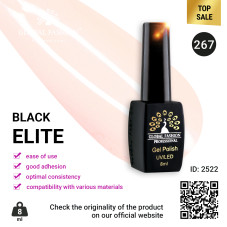
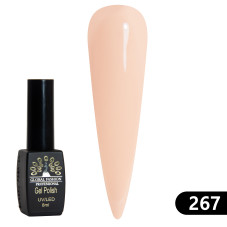
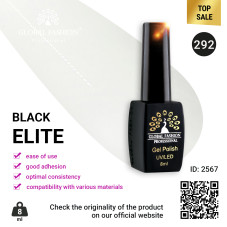
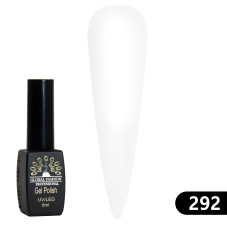
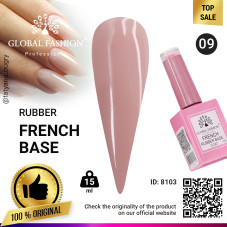
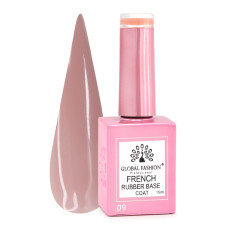
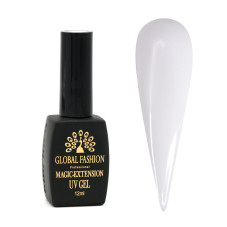
- Gel varnish or gel in natural and white colours;
152 bought
ID: 8103
13,92 BYN
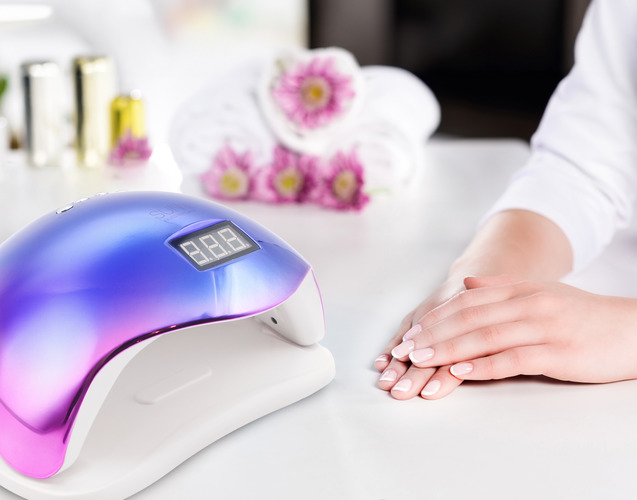
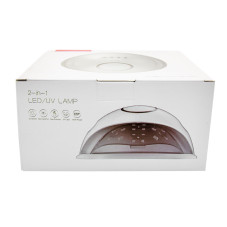
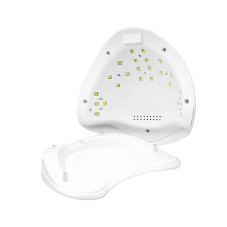
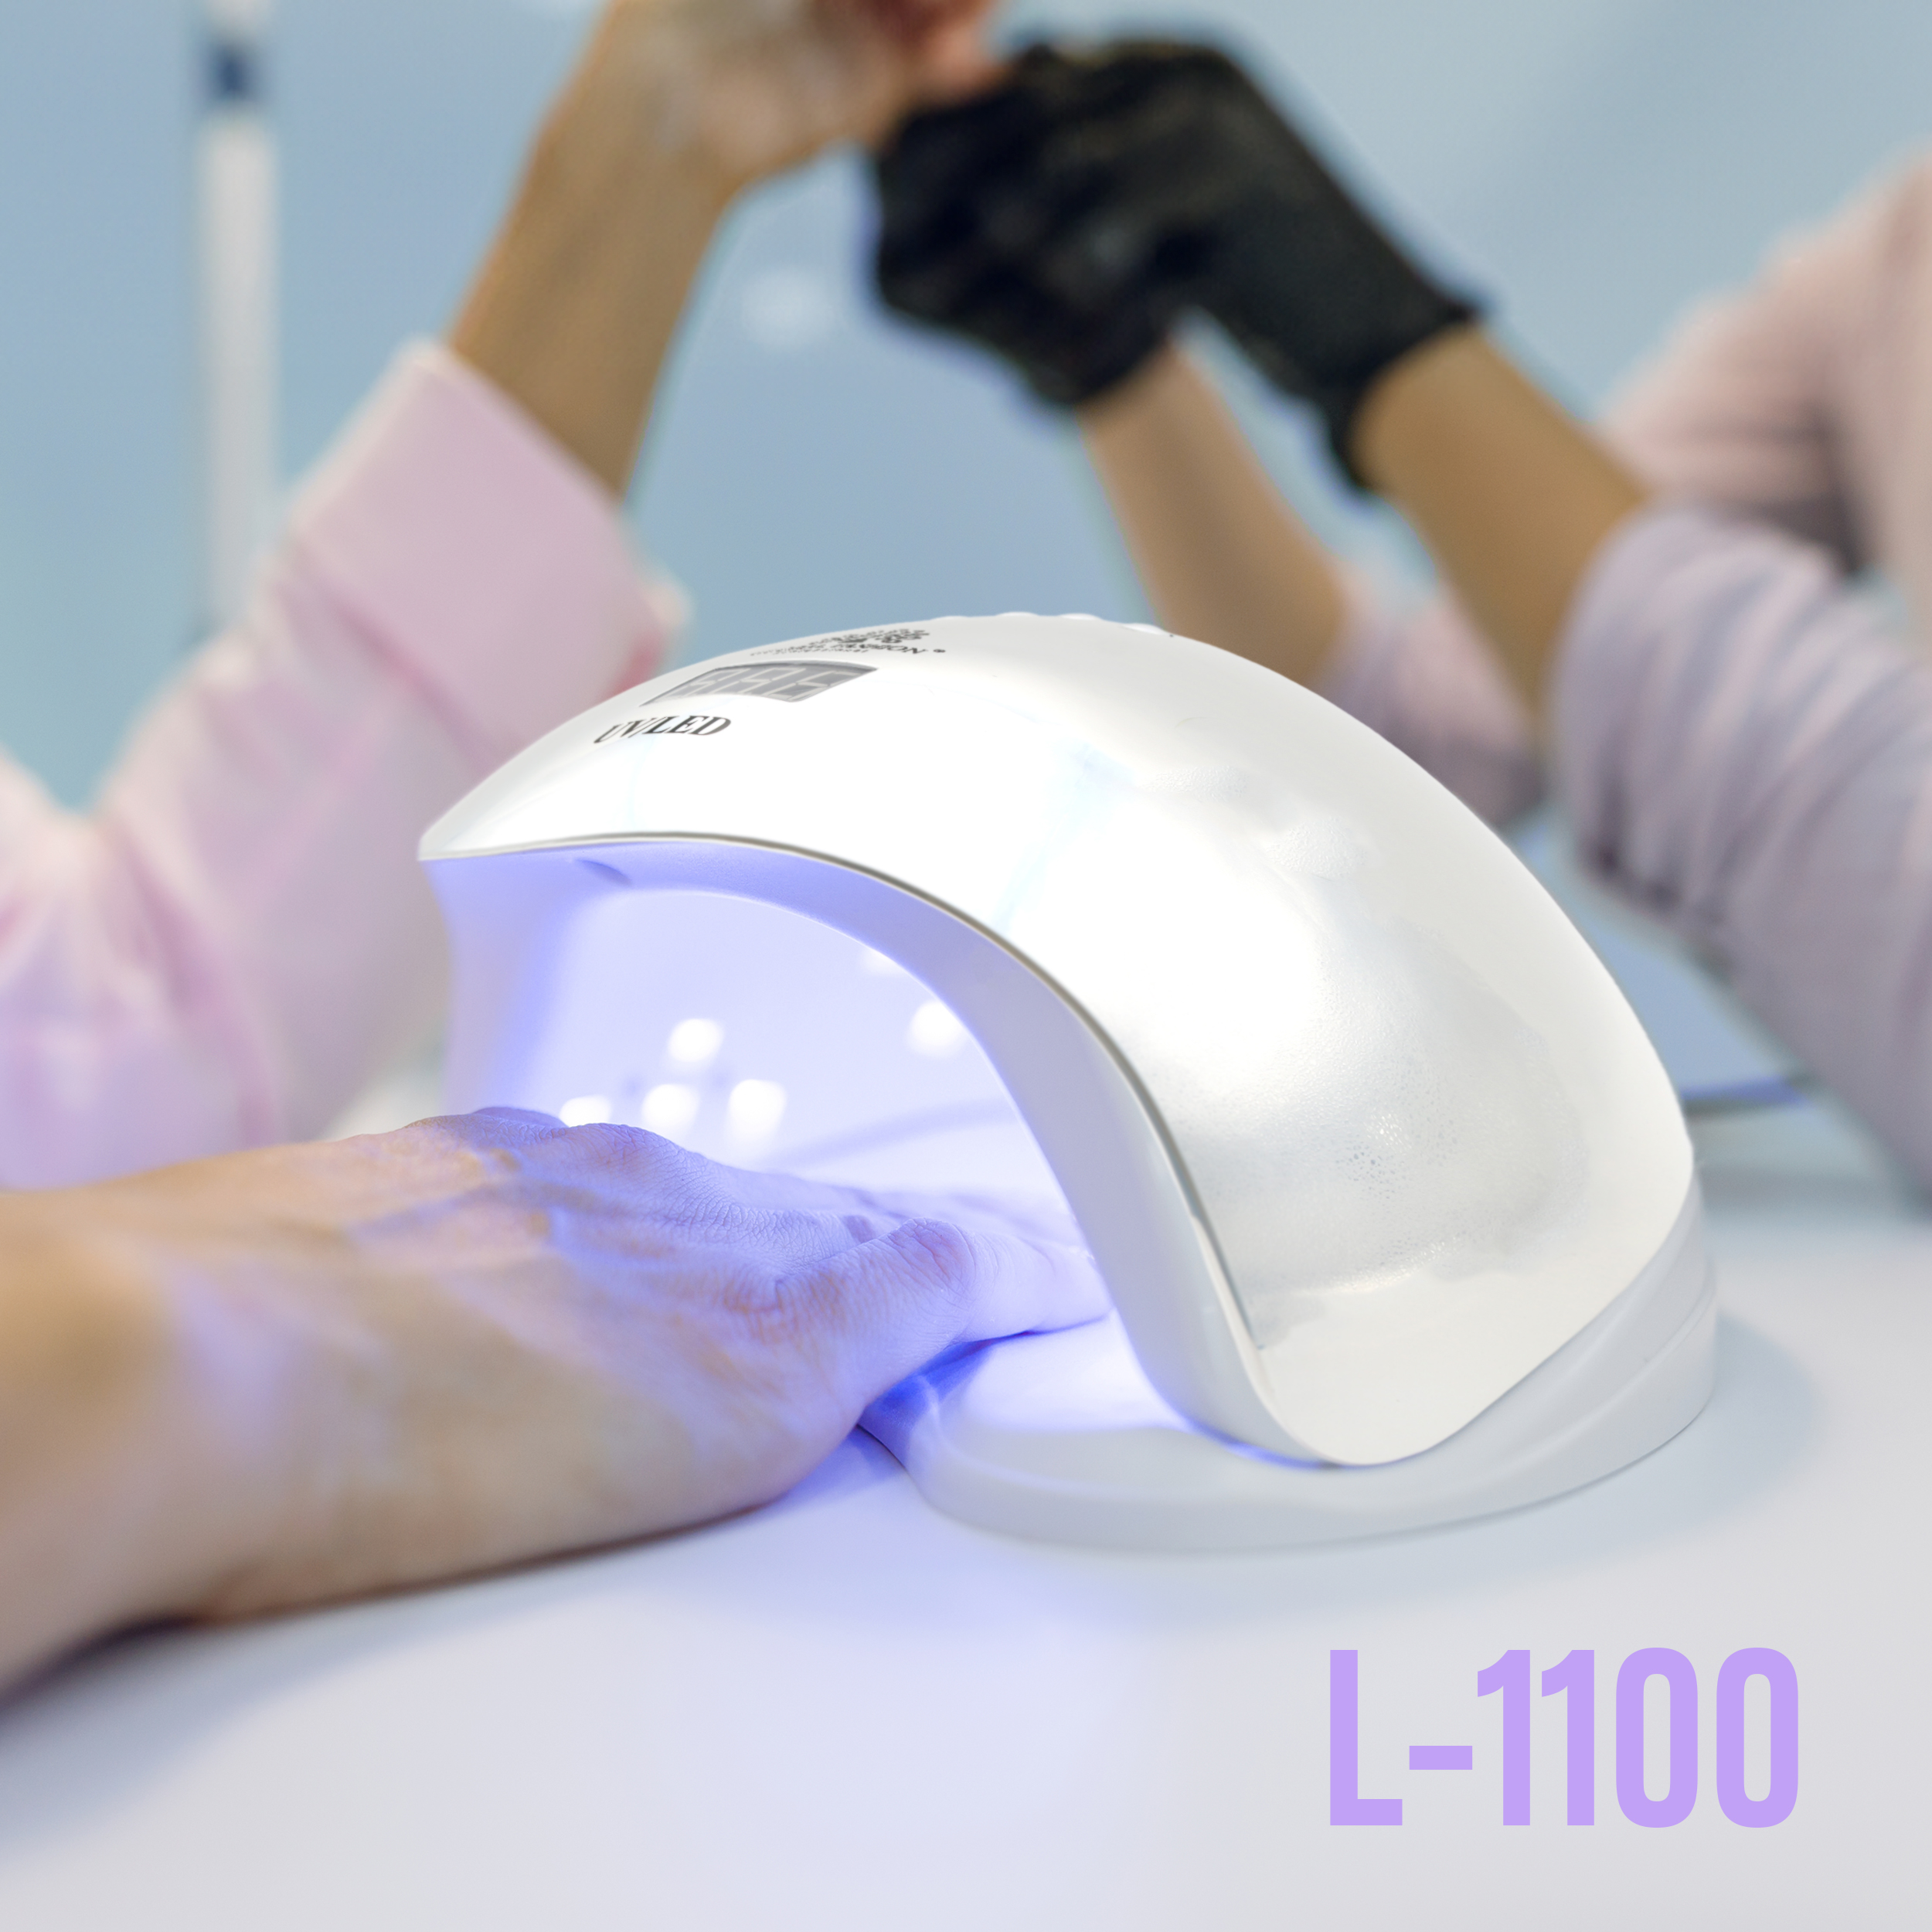
- Nail lamp.
In the art of manicure there are two main methods of creating a smile line: using a stencil and painting with a brush. Your choice should depend on your personal experience in this area. For beginners, it is often recommended to use a stencil, which allows you to achieve a perfectly even line. While more experienced professionals prefer to paint the smile line with a brush, enjoying the freedom of the creative process.
How to get a French pedicure
If you remember your last pedicure, some of these nail care steps are already familiar to you. But for those who usually allow themselves time to relax during their nail treatments (which we only welcome), we'll detail each step of the process.
Before you begin, make sure you have all the necessary tools on hand to avoid any unpleasant surprises in the process.
1 STEP: Preparing the nail plate
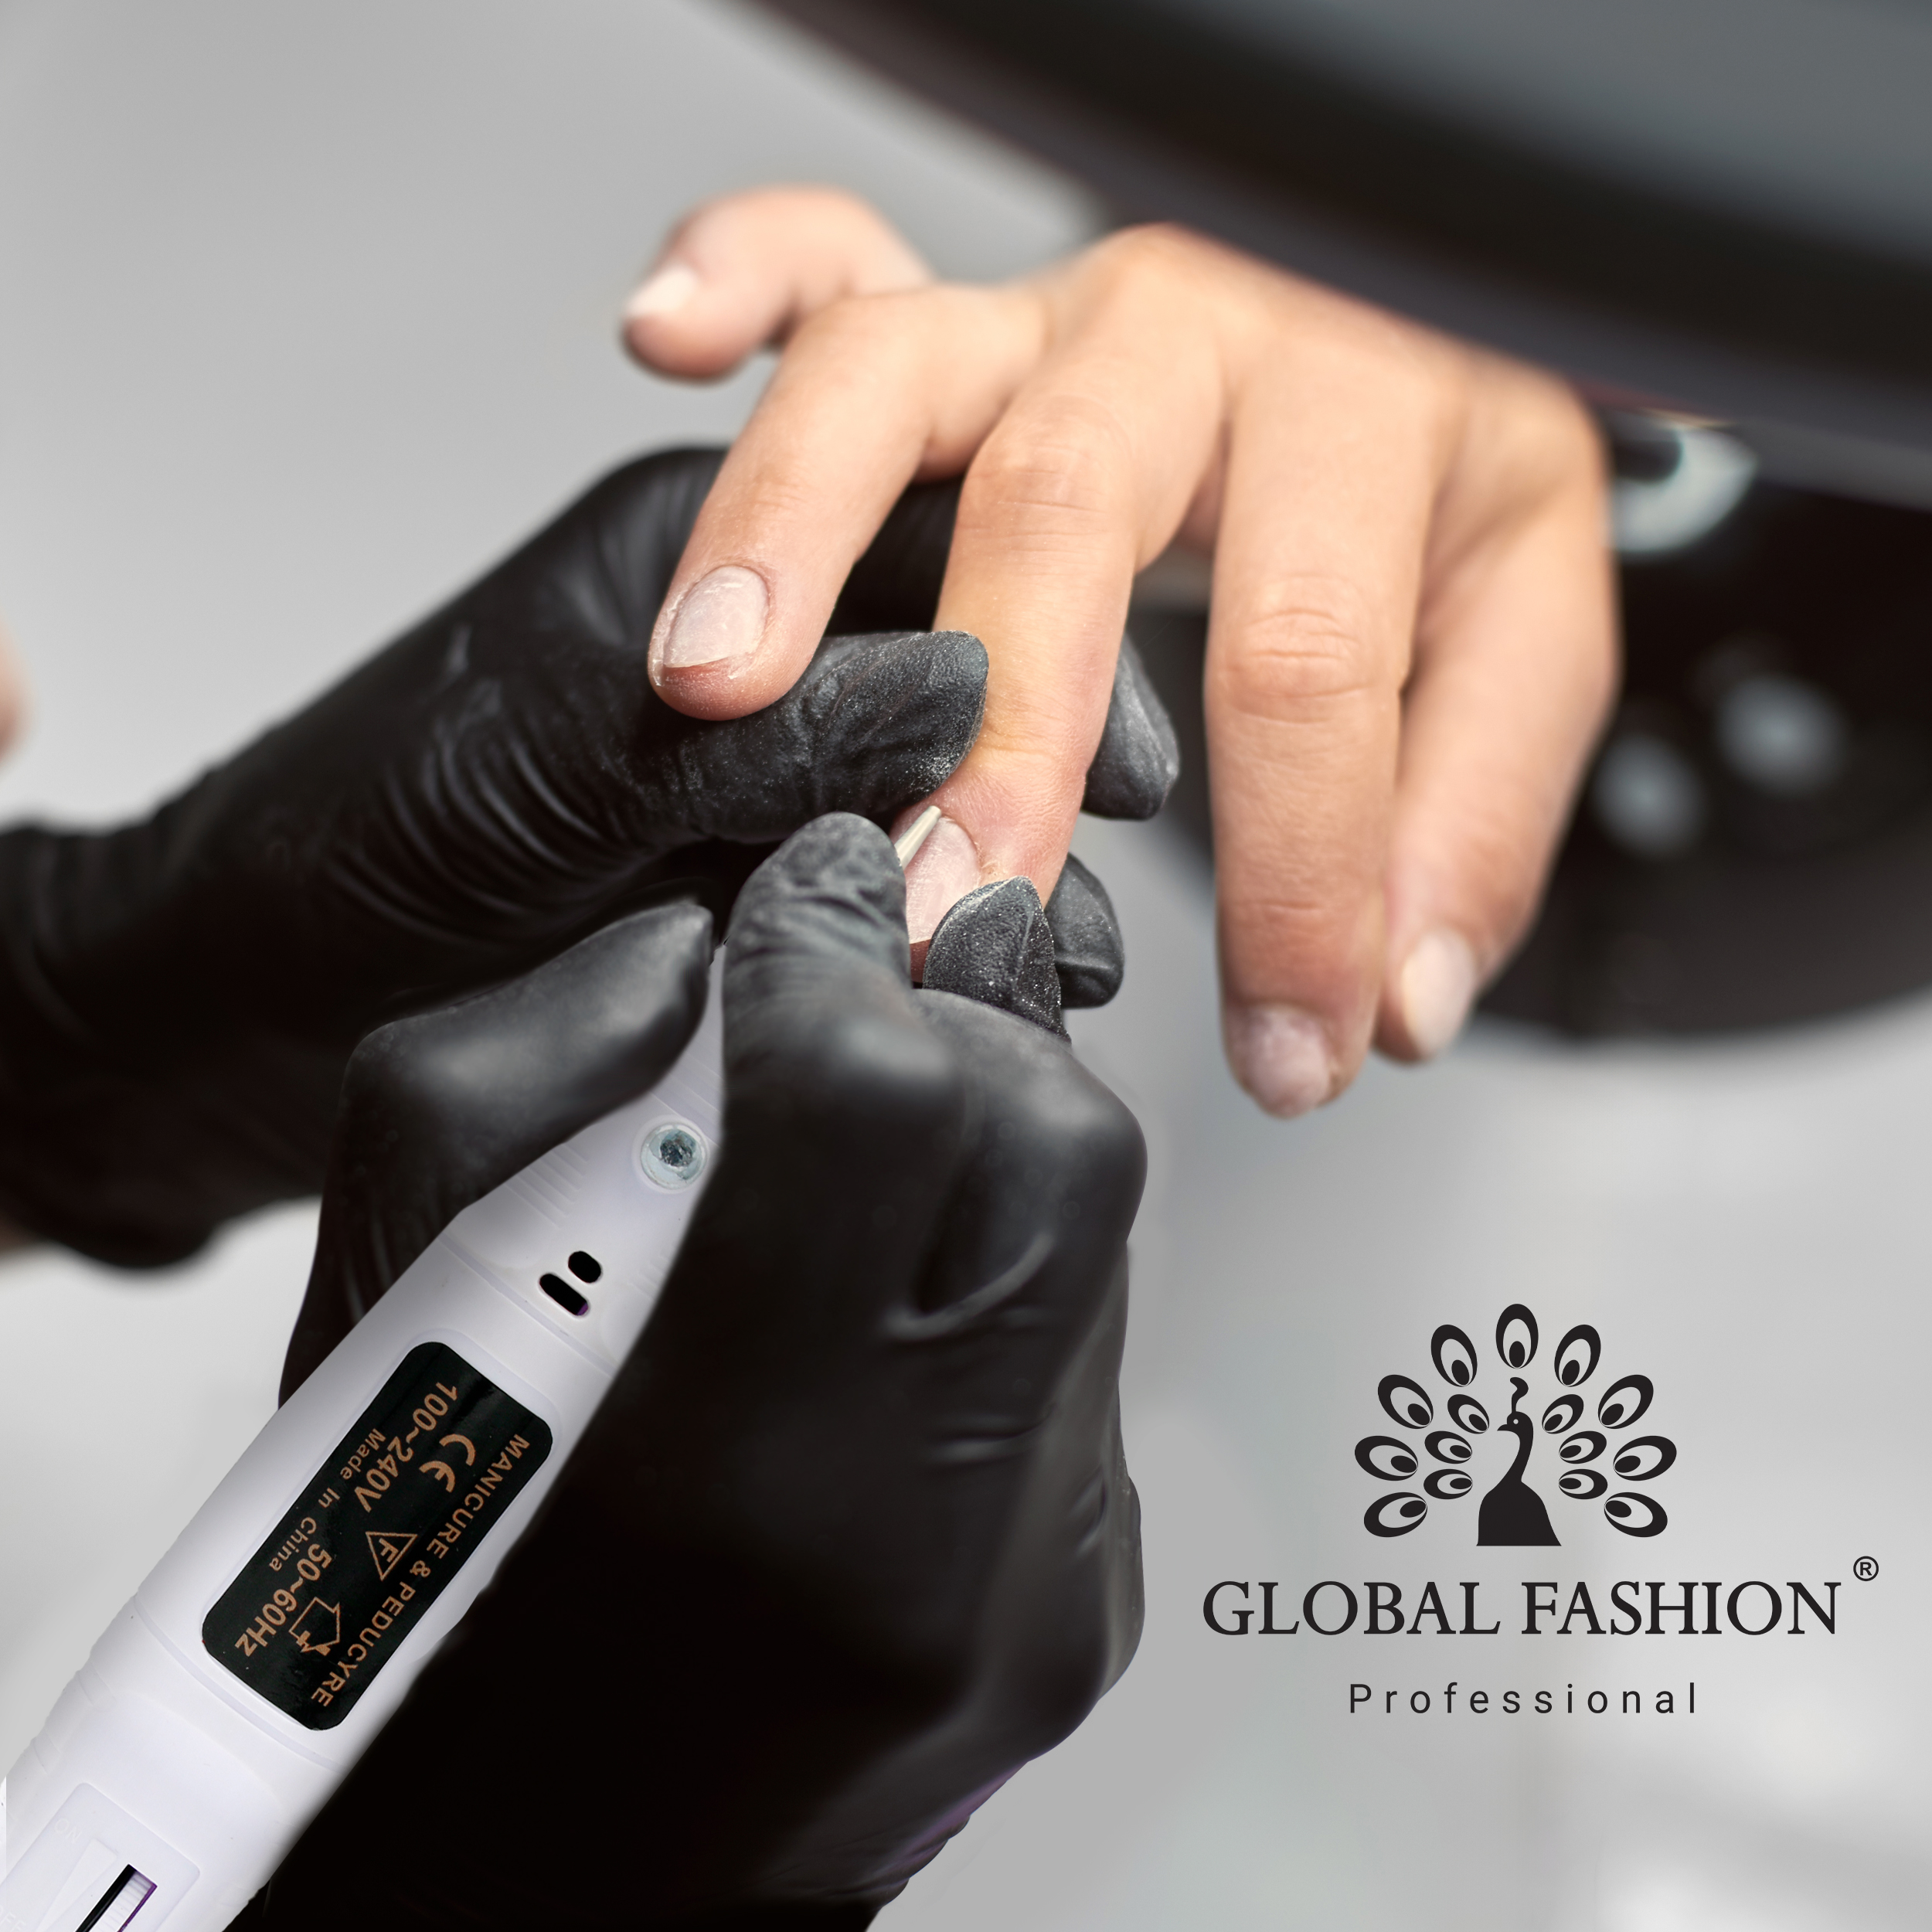
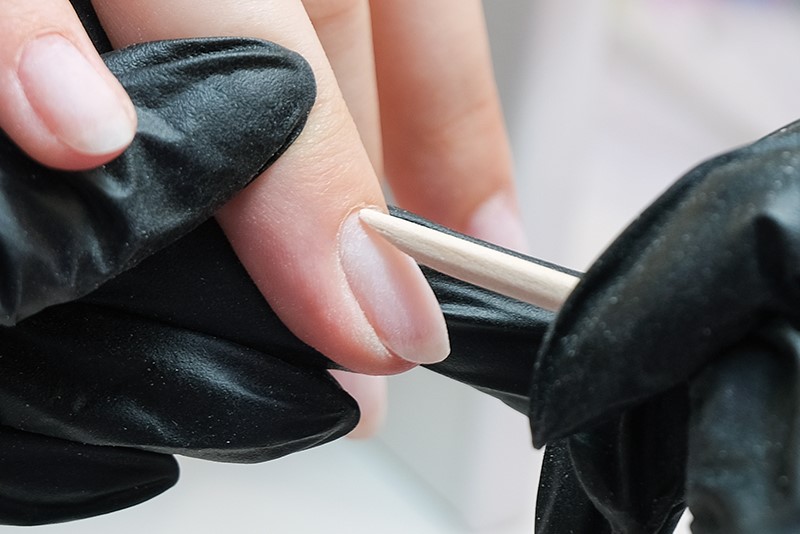
Trim the cuticle, shape and length the free edge of the nail and then polish the surface.
2 STEP: Peeling the toenails
Now that your nails are trimmed and groomed, it's time to indulge your feet with the necessary exfoliant. Choose a scrub that not only removes dead skin, but also nourishes the skin on your feet. If you don't prefer physical exfoliators, look for products with AHAs. After exfoliating, don't forget to moisturise your feet and nails with a moisturiser to keep them healthy and beautiful.
STEP 3: Applying the base
Apply a base that will prepare your nails for further decoration and dry in the lamp. Then choose a base colour: beige, peach or soft pink. Focus on your colour type to enhance your natural beauty and complement your look.
STEP 4: Gel Lacquer Application
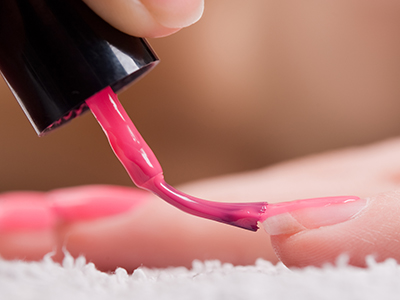
Apply coloured gel polish to the free edge of the nail and dry in the lamp.
STEP 5: Creating the smile line
When working with the stencil, make sure it fits snugly on the nail. Then carefully apply white gel polish, using two thin coats to achieve perfect coverage. If you decide to use a brush to apply the gel polish, it is recommended that you mark key points around the centre of the nail plate beforehand. This will allow you to create a perfectly even smile line. Dry in the lamp.
STEP 6: Applying the top coat
Complete your pedicure by applying a layer of topcoat for extra shine and protection and then dry in the lamp. Once dry, gently remove the sticky layer from the surface of your nails to leave them looking perfectly smooth and shiny.
Don't worry if the smile line on the French fringe doesn't come out perfectly straight on the first try. Keep practising and experimenting with different variations of the French manicure. Over time, you will achieve a flawless result.
Realise unique ideas and open new horizons in the world of nail art with Global Fashion! Our online shop offers everything you need to make each of your manicure experiments bright and unforgettable.
Read also: How to do pedicure with gel-lacquer - step-by-step instructions
Published: 27.06.2024 10:28
Times Read: 243
6318 bought
ID: 3678
13,92 BYN
3157 bought
ID: 3688
27,95 BYN
1836 bought
ID: 3650
9,28 BYN
567 bought
ID: 5263
3,87 BYN






.jpg)
